
Install Telegraf Controller
Telegraf Controller is in Public Beta
Telegraf Controller is in public beta and will be part of the future Telegraf Enterprise offering. While in beta, Telegraf Controller is not meant for production use. The Telegraf Controller documentation is a work in progress, and we are actively working to improve it. If you have any questions or suggestions, please submit an issue. We welcome any and all contributions.
Telegraf Controller is a web-based configuration management system for Telegraf agents. It provides a user-friendly interface for managing Telegraf configurations, monitoring agents, and organizing plugins.
- System Requirements
- Review the EULA
- Download and install Telegraf Controller
- Set up your database
- Configure Telegraf Controller
- Set up the owner account
- Access Telegraf Controller
System Requirements
- Operating Systems: Linux, macOS, Windows
- Architecture: x64 (Intel/AMD) or ARM64 (Apple Silicon/ARM)
- Database: SQLite (default), PostgreSQL, or PostgreSQL-compatible
- Ports: 8888 (web interface), 8000 (heartbeat service)
Review the EULA
Review the InfluxData End User Software License Agreement (EULA) for Telegraf Controller before downloading and installing.
Telegraf Controller requires that you accept the EULA before the server can start. When you first run Telegraf Controller in interactive mode (default), it prompts you to accept the EULA. Once accepted on a host machine, the EULA does not need to be accepted again unless the EULA is updated or the Telegraf Controller local data directory is removed.
Accept in interactive mode
Run the executable in a terminal and follow the prompt.
telegraf_controllerEnter v to view the full text of the Telegraf Controller EULA.
Enter accept to accept the EULA and proceed.
Accept non-interactively
Use the --eula-accept command option or set the TELEGRAF_CONTROLLER_EULA
environment variable to accept.
This is required for non-interactive runs such as systemd, LaunchDaemons,
or CI—for example:
telegraf_controller --eula-accept --no-interactiveTELEGRAF_CONTROLLER_EULA=accept telegraf_controller --no-interactive$env:TELEGRAF_CONTROLLER_EULA="accept"
./telegraf_controller.exe --no-interactiveDownload and install Telegraf Controller
Download the Telegraf Controller executable.
Install Telegraf Controller.
Telegraf Controller executable name
The downloaded Telegraf Controller executable includes platform-specific information in the file name. You can leave the information in the file name or you can rename the file to
telegraf_controller. This documentation assumes the executable is namedtelegraf_controller.Linux
You can add the
telegraf_controllerexecutable to your system path or you can run it in place. You can also run Telegraf Controller as a service.- Add the executable to your system path
- Run the executable in place
- Install the executable as a systemd service
Add the executable to your system path
Add the following to your shell profile (for example
~/.bashrc):export PATH="$PATH:$PWD/telegraf_controller"Reload the profile or open a new shell.
Run the executable in place
./telegraf_controllerInstall the executable as a systemd service
If this is the first run on the host, accept the EULA in a TTY or set
TELEGRAF_CONTROLLER_EULA=acceptin the service environment.Create a Telegraf Controller service file:
sudo tee /etc/systemd/system/telegraf-controller.service > /dev/null <<EOF
[Unit]
Description=Telegraf Controller
After=network.target

[Service]
Type=simple
User=$USER
WorkingDirectory=/opt/telegraf-controller
ExecStart=/opt/telegraf-controller/telegraf_controller
Restart=on-failure
RestartSec=10

[Install]
WantedBy=multi-user.target
EOF
Move the executable to
/opt:sudo mkdir -p /opt/telegraf-controller sudo mv telegraf_controller /opt/telegraf-controller/ sudo chmod +x /opt/telegraf-controller/telegraf_controllerEnable and start the service:
sudo systemctl daemon-reload
sudo systemctl enable telegraf-controller
sudo systemctl start telegraf-controller
macOS
You can add the
telegraf_controllerexecutable to your system path or you can run it in place. You can also run Telegraf Controller as a LaunchDaemon service.- Prepare the downloaded executable
- Add the executable to your system path
- Run the executable in place
- Install as a LaunchDaemon
Prepare the downloaded executable
Give
telegraf_controllerexecutable permissions:chmod +x telegraf_controllerRemove the macOS quarantine attribute (if downloaded via browser):
xattr -d com.apple.quarantine telegraf_controller
Add the executable to your system path
sudo mv telegraf_controller /usr/local/bin/
export PATH="/usr/local/bin:$PATH"
Run the executable in place
./telegraf_controllerInstall as a LaunchDaemon
If this is the first run on the host, accept the EULA in a TTY or set
TELEGRAF_CONTROLLER_EULA=acceptin the service environment.Create a plist file:
sudo tee /Library/LaunchDaemons/com.influxdata.telegraf-controller.plist > /dev/null <<EOF
<?xml version="1.0" encoding="UTF-8"?>
<!DOCTYPE plist PUBLIC "-//Apple//DTD PLIST 1.0//EN" "http://www.apple.com/DTDs/PropertyList-1.0.dtd">
<plist version="1.0">
<dict>
    <key>Label</key>
    <string>com.influxdata.telegraf-controller</string>
    <key>ProgramArguments</key>
    <array>
        <string>/usr/local/bin/telegraf_controller</string>
    </array>
    <key>RunAtLoad</key>
    <true/>
    <key>KeepAlive</key>
    <true/>
    <key>StandardOutPath</key>
    <string>/var/log/telegraf-controller.log</string>
    <key>StandardErrorPath</key>
    <string>/var/log/telegraf-controller.error.log</string>
</dict>
</plist>
EOF
Move the executable to
/usr/local/bin:sudo mv telegraf_controller /usr/local/bin/Load the service:
sudo launchctl load /Library/LaunchDaemons/com.influxdata.telegraf-controller.plist
Windows
You can run the
telegraf_controllerexecutable in place or you can run Telegraf Controller as a Windows service.Run the application in place
Double-click the executable or open Command Prompt or PowerShell and run:
./telegraf_controller.exeInstall as a Windows Service
Use NSSM (Non-Sucking Service Manager) to run Telegraf Controller as a Windows service.
If this is the first run on the host, accept the EULA in a TTY or set
TELEGRAF_CONTROLLER_EULA=acceptin the service environment.In Command Prompt or PowerShell, install the Telegraf Controller service:
nssm install TelegrafController "C:\Program Files\TelegrafController\telegraf_controller.exe"
nssm set TelegrafController DisplayName "Telegraf Controller"
nssm set TelegrafController Description "Web-based Telegraf configuration manager"
nssm set TelegrafController Start SERVICE_AUTO_START
Start the service:
nssm start TelegrafController
Set up your database
Telegraf Controller supports SQLite (default), PostgreSQL, or PostgreSQL-compatible databases as its data backend.
SQLite
With SQLite installed, no additional setup is required. Telegraf Controller creates the database file automatically on first run.
Default SQLite data locations
Telegraf Controller stores its data in platform-specific locations:
| Platform | Default Database Location |
|---|---|
| Linux | ~/.local/share/telegraf-controller/sqlite.db |
| macOS | ~/Library/Application Support/telegraf-controller/sqlite.db |
| Windows | %LOCALAPPDATA%\telegraf-controller\sqlite.db |
PostgreSQL
The following steps assume you have a running PostgreSQL or PostgreSQL-compatible server running.
Create a database named
telegraf_controller:CREATE DATABASE telegraf_controller;Run with PostgreSQL URL:
./telegraf_controller --database="postgresql://user:password@localhost:5432/telegraf_controller"
The application will automatically run migrations on first startup.
Configure Telegraf Controller
Use the following command line options to configure Telegraf Controller.
Configuration options
| Command Flag | Environment Variable | Description | Default |
|---|---|---|---|
--port | PORT | Web interface and API port | 8888 |
--heartbeat-port | HEARTBEAT_PORT | Agent heartbeat service port | 8000 |
--database | DATABASE | Database connection string | Auto-detected SQLite |
--ssl-cert | SSL_CERT | SSL certificate file path | None |
--ssl-key | SSL_KEY | SSL private key file path | None |
--no-interactive | Skip prompts and use defaults | None | |
--eula-accept | TELEGRAF_CONTROLLER_EULA | Accept EULA non-interactively | None |
Examples
# Use custom ports
telegraf_controller --port=3000 --heartbeat-port=9000

# Use PostgreSQL database
telegraf_controller \
  --database="postgresql://user:password@localhost:5432/telegraf_db"

# Use custom SQLite database location
telegraf_controller \
  --database="/path/to/custom/database.db"

# Enable HTTPS
telegraf_controller \
  --ssl-cert="/path/to/cert.pem" \
  --ssl-key="/path/to/key.pem"

# Accept the EULA non-interactively
telegraf_controller \
  --no-interactive \
  --eula-accept
# Use custom ports
./telegraf_controller.exe --port=3000 --heartbeat-port=9000
# Use PostgreSQL database
./telegraf_controller.exe `
--database="postgresql://user:password@localhost:5432/telegraf_db"
# Use custom SQLite database location
./telegraf_controller.exe `
--database="C:\path\to\custom\database.db"
# Enable HTTPS
./telegraf_controller.exe `
--ssl-cert="C:\path\to\cert.pem" `
--ssl-key="C:\path\to\key.pem"
# Accept the EULA non-interactively
./telegraf_controller.exe `
--no-interactive `
--eula-accept# Use custom ports
PORT=3000
HEARTBEAT_PORT=9000
# Use PostgreSQL database
DATABASE=postgresql://user:password@localhost:5432/telegraf_db
# Use custom SQLite database location
DATABASE=/path/to/custom/database.db
# Enable HTTPS
SSL_CERT=/path/to/cert.pem
SSL_KEY=/path/to/key.pem
# Accept the EULA
TELEGRAF_CONTROLLER_EULA=accept
telegraf_controller# Use custom ports
$env:PORT=3000
$env:HEARTBEAT_PORT=9000
# Use PostgreSQL database
$env:DATABASE=postgresql://user:password@localhost:5432/telegraf_db
# Use custom SQLite database location
$env:DATABASE=C:\path\to\custom\database.db
# Enable HTTPS
$env:SSL_CERT=C:\path\to\cert.pem
$env:SSL_KEY=C:\path\to\key.pem
# Accept the EULA
$env:TELEGRAF_CONTROLLER_EULA=accept
./telegraf_controller.exeSet up the owner account
The first time you access Telegraf Controller, you need to create an owner account. The owner has full administrative access to the application, including the ability to manage users, configurations, and agents.
You can create the owner account using one of four methods:
- Interactive CLI setup when starting the application
- Environment variables set before starting the application
- Command line flags passed when starting the application
- Web interface setup after starting the application
Interactive CLI setup
When you start Telegraf Controller in interactive mode (default) and no owner account exists, Telegraf Controller prompts you to provide owner username, email address, and password.
Environment variable setup
You can configure the owner account by setting environment variables before starting Telegraf Controller. This method is useful for automated deployments and containerized environments.
| Environment variable | Description |
|---|---|
OWNER_EMAIL | Owner email address |
OWNER_USERNAME | Owner username |
OWNER_PASSWORD | Owner password |
Set all three environment variables and then start the application:
export OWNER_EMAIL="admin@example.com"
export OWNER_USERNAME="admin"
export OWNER_PASSWORD="secure-password-here"

./telegraf-controller
If an owner account already exists, Telegraf Controller ignores these environment variables.
If an administrator account already exists with the specified username, that account is promoted to owner.
Command line flag setup
You can also pass owner account details as command line flags when starting Telegraf Controller.
| Flag | Description |
|---|---|
--owner-email=EMAIL | Owner email address |
--owner-username=NAME | Owner username |
--owner-password=PASS | Owner password |
Pass all three flags when starting the application:
./telegraf-controller \
  --owner-email="admin@example.com" \
  --owner-username="admin" \
  --owner-password="secure-password-here"
Command line flags take precedence over environment variables. If you set both, Telegraf Controller uses the values from the command line flags.
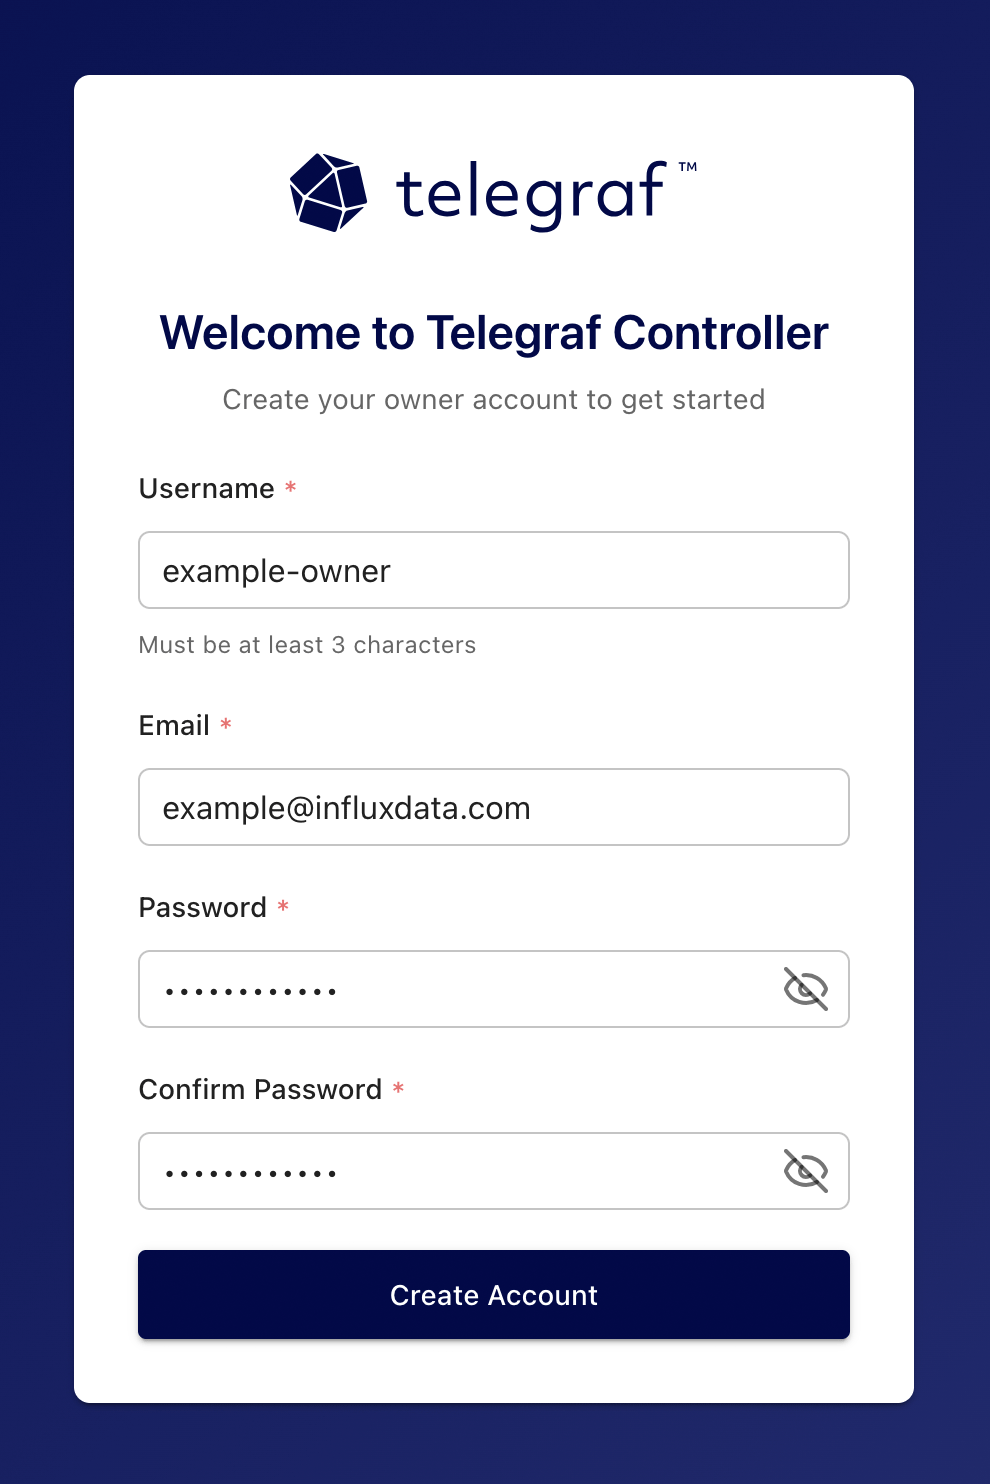
Web interface setup
If no owner account exists when you start Telegraf Controller in non-interactive mode, the web interface displays a setup page where you can create one.
- Navigate to the Telegraf Controller URL in your browser.
- Fill in the Username, Email, and Password fields.
- Click Create Account.
For more information about user roles and permissions, see Authorization.
Access Telegraf Controller
Once started, access the Telegraf Controller web interface at http://localhost:8888 (or using your custom port).
Was this page helpful?
Thank you for your feedback!
Support and feedback
Thank you for being part of our community! We welcome and encourage your feedback and bug reports for Telegraf and this documentation. To find support, use the following resources:
Customers with an annual or support contract can contact InfluxData Support.