
Use Chronograf to visualize data
Chronograf is a data visualization and dashboarding tool designed to visualize data in InfluxDB 1.x using the InfluxQL query language. This page walks through how to use Chronograf with InfluxDB 3 Enterprise.
Prerequisites
- Download and install Chronograf
- A running InfluxDB 3 Enterprise cluster with:
- A database to query
- A database token with read permissions
Enable InfluxDB 3 support
To connect Chronograf to InfluxDB 3 Enterprise, start Chronograf with InfluxDB 3 support enabled using one of the following methods:
chronograf --influxdb-v3-support-enabledexport INFLUXDB_V3_SUPPORT_ENABLED=true
chronografCreate an InfluxDB connection
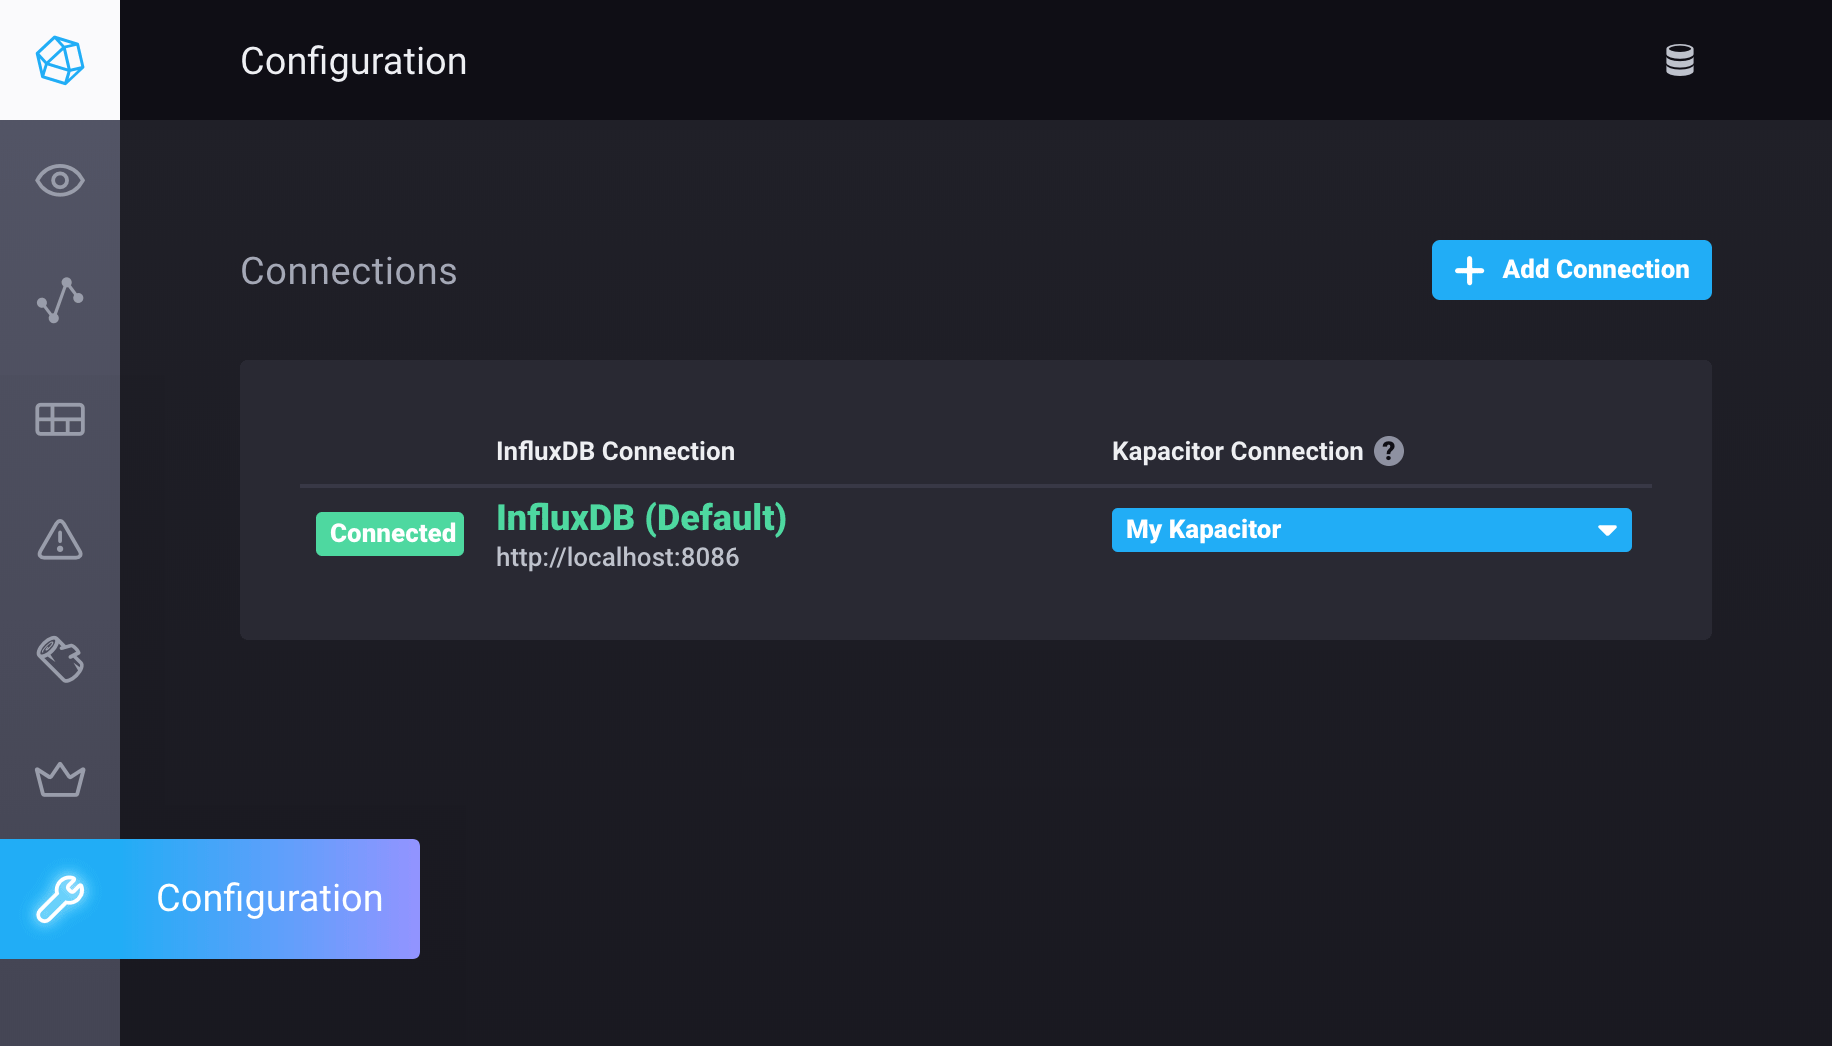
Open Chronograf and click Configuration (wrench icon) in the navigation menu.
Click Add Connection.
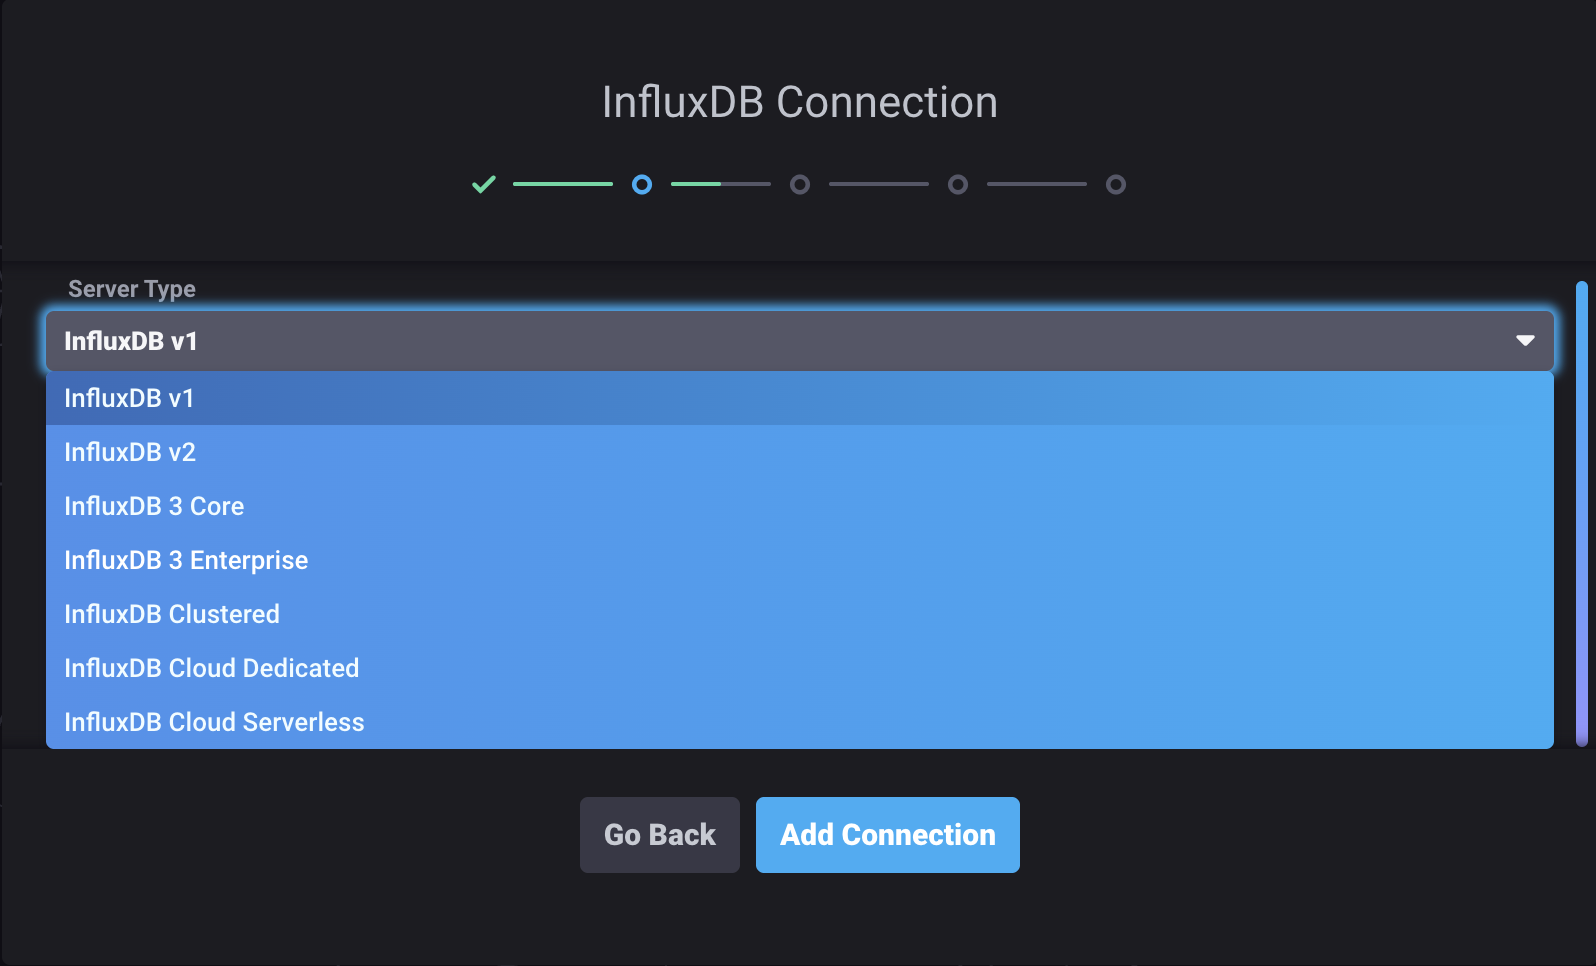
In the Server Type dropdown, select InfluxDB 3 Enterprise.
Enter your InfluxDB 3 Enterprise connection credentials:
Connection URL: URL of your InfluxDB 3 Enterprise cluster
http://localhost:8181Connection Name: Name to uniquely identify this connection configuration
Database Token: InfluxDB database token
with read permissions on the database you want to query
Telegraf Database Name: InfluxDB database Chronograf uses to populate parts of the application, including the Host List page (default is
telegraf)
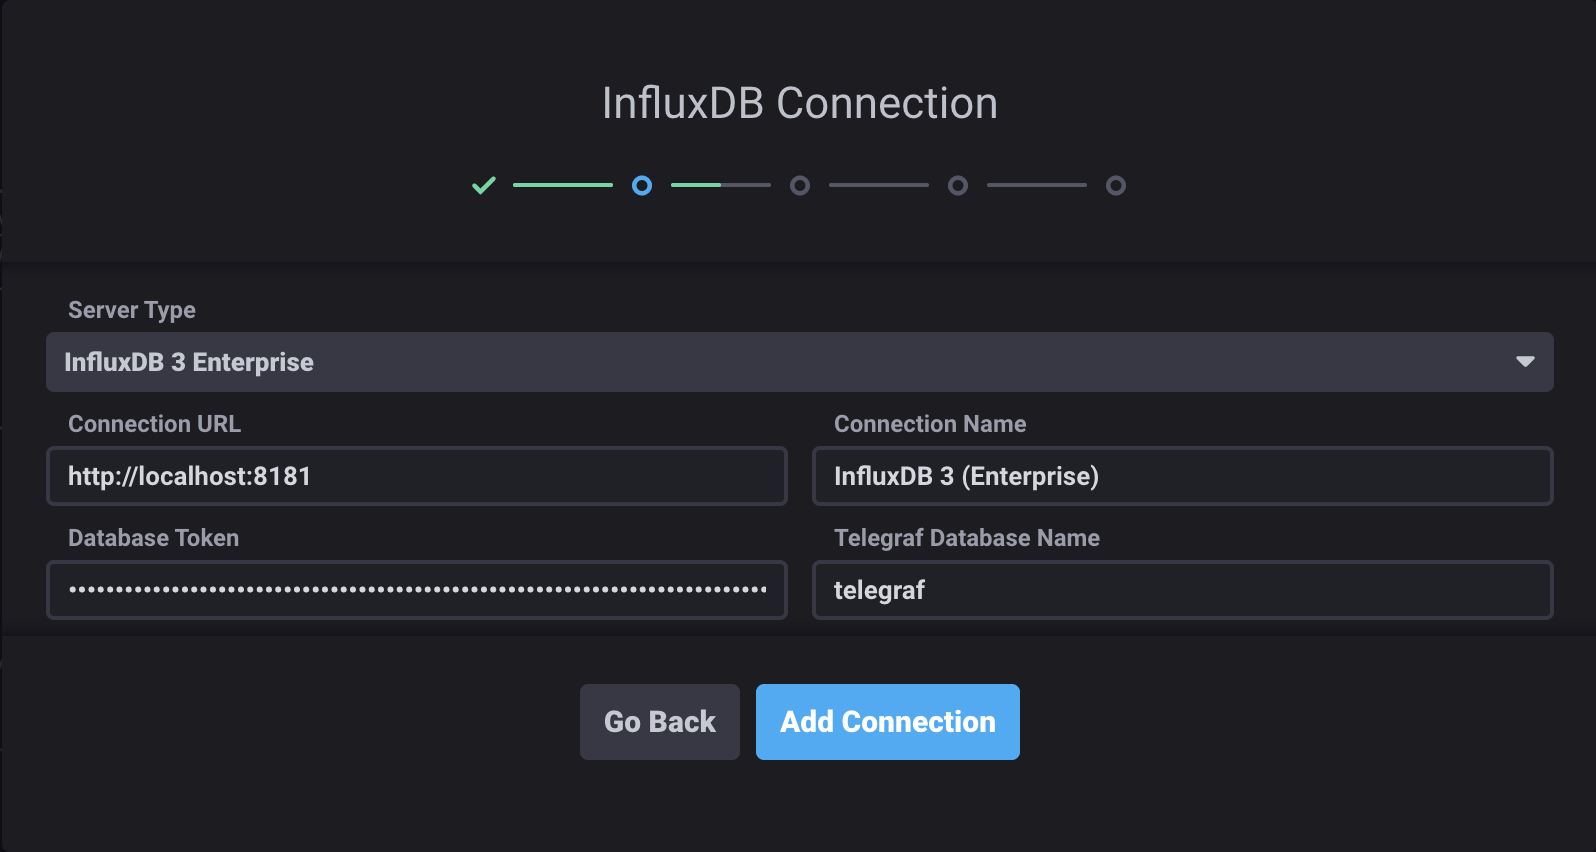
Click Add Connection.
Select the dashboards you would like to create, and then click Next.
To configure a Kapacitor connection, provide the necessary credentials, and then click Continue. Otherwise, click Skip.
Click Finish.
Configure connection via CLI
You can also configure the connection when starting Chronograf:
Replace the following:
DATABASE_NAME: Database nameDATABASE_TOKEN: database token with read permissions
chronograf --influxdb-v3-support-enabled \
  --influxdb-type=influx-v3-enterprise \
  --influxdb-url=http://localhost:8181 \
  --influxdb-token=DATABASE_TOKEN \
  --influxdb-default-db=DATABASE_NAME
For a complete list of configuration options, see InfluxDB 3 connection options.
Query data in the Data Explorer
- In Chronograf, click Explore in the left navigation bar.
- Build and submit InfluxQL queries.
Schema information in the Data Explorer
InfluxDB 3 Enterprise supports InfluxQL metaqueries, so schema information
is available in the Data Explorer to help build queries.
You can also use fully qualified measurements
in the FROM clause. For example:
-- Fully qualified measurement
SELECT * FROM "db-name"."rp-name"."measurement-name"

-- Fully qualified measurement shorthand (use the default retention policy)
SELECT * FROM "db-name".."measurement-name"
For more information about available InfluxQL functionality, see InfluxQL feature support.
Important notes
Database view is disabled
When connected to InfluxDB 3 Enterprise, the database view in Chronograf is disabled.
No administrative functionality
Chronograf cannot be used for administrative tasks in InfluxDB 3 Enterprise. For example, you cannot do the following:
- Define databases
- Modify retention policies
- Add users
- Kill queries
When connected to an InfluxDB 3 Enterprise database, functionality in the InfluxDB Admin section of Chronograf is disabled.
To complete administrative tasks, use the
influxdb3 CLI.
Annotations and variables
Annotations and dashboard variables work with InfluxDB 3 Enterprise when a chronograf database exists and is accessible with the same database token.
When setting up variables with dynamic tag values, the backend query limits the scope of the record search with a time condition.
By default, this is time > now() - 7d.
Tags from records older than this limit are ignored.
To change this setting, use the --influxdb-v3-time-condition flag or INFLUXDB_V3_TIME_CONDITION environment variable.
Was this page helpful?
Thank you for your feedback!
Support and feedback
Thank you for being part of our community! We welcome and encourage your feedback and bug reports for InfluxDB 3 Enterprise and this documentation. To find support, use the following resources:
Customers with an annual or support contract can contact InfluxData Support. Customers using a trial license can email trial@influxdata.com for assistance.