
Manage users in the Admin UI
Use the InfluxDB Cloud Dedicated Admin UI to manage users and control access to your cluster through a web-based interface. The Admin UI provides self-service user management capabilities, allowing administrators to invite new users, assign roles, and manage invitations without contacting support.
- Access the Users page
- View existing users
- Invite a user
- Manage invitations
- User roles and permissions
- Limitations
Access the Users page
Access the InfluxDB Cloud Dedicated Admin UI at [console.influxdata.com](https://console.influxdata.com). If you don't have login credentials, [contact InfluxData support](https://support.influxdata.com).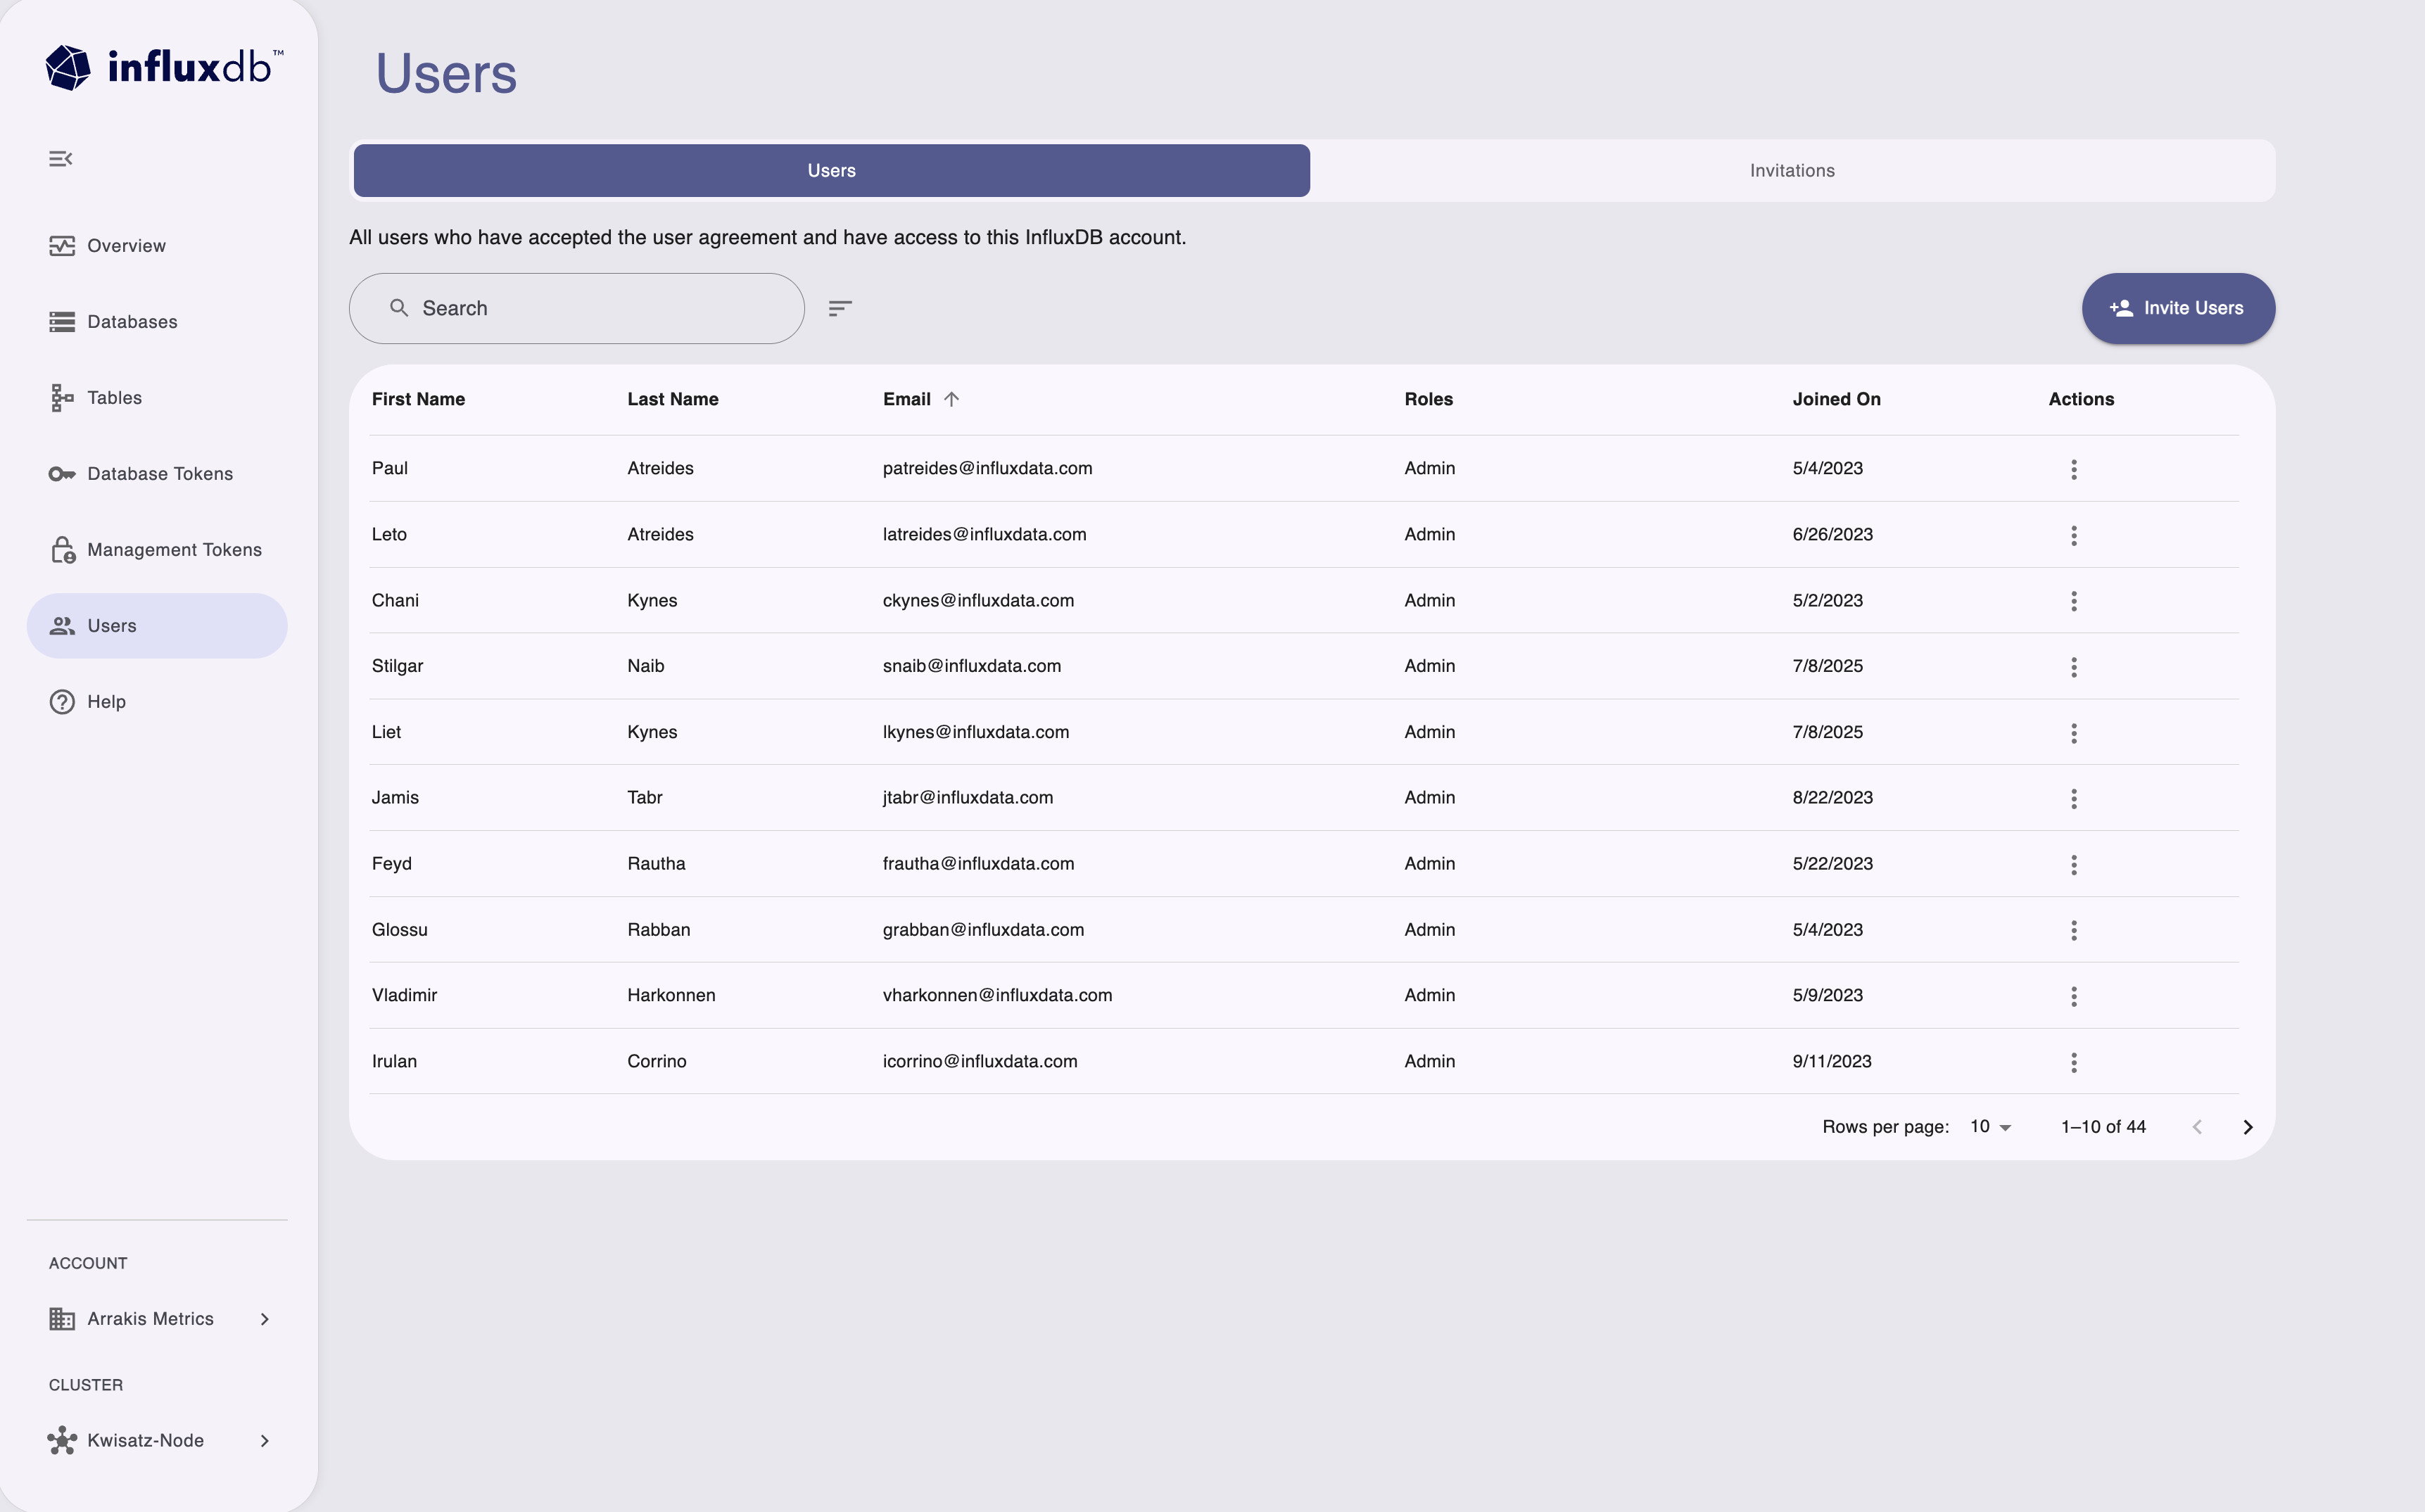
The Users page displays your account information and a table of existing users and invitations. Use the Users page to manage access to your InfluxDB account:
- View all users who have accepted the user agreement and have access to the account
- Invite new users to the account
- View user roles, email addresses, and join dates
- Manage user permissions and access
- Toggle between Users and Invitations tabs
View existing users
The Users page shows a comprehensive view of all users and pending invitations for your account:
- Invite ID: Unique identifier for each user invitation
- Email: Email address of the invited or existing user
- Invited At: Date and time when the invitation was sent
- Status: Current status of the invitation
accepted: User has accepted the invitation and has access to the clusterexpired: Invitation has expired and is no longer validrevoked: Invitation has been manually revoked by an administrator
Use the search functionality to quickly find specific users by email address or invitation details.
Invite a user
Only users with the Admin role can send new invitations.
- On the Users page, click Invite Users.
- In the Invite User dialog:
- Enter the email address of the user you want to invite
- Select the appropriate role from the dropdown menu:
- Admin: Full read and write permissions on all resources
- Member: Read permission on certain resources and create permission for database tokens
- Auditor: Read permission on all resources without modification capabilities
- Click Send Invitation.
An invitation email with an activation link is sent to the specified email address. The user must accept the invitation to gain access to your InfluxDB Cloud Dedicated cluster.
Invitation expiration
Invitations expire after a set period. If an invitation expires, you’ll need to send a new invitation to the user.
Manage invitations
Revoke an invitation
You can revoke pending invitations that haven’t been accepted yet:
- In the Users table, locate the invitation you want to revoke.
- Click the Actions menu (⋮) for that invitation.
- Select Revoke Invitation.
- Confirm the revocation when prompted.
Revoked invitations can no longer be used to access your cluster. The invitation status will change to revoked.
View invitation details
Click on any invitation in the table to view additional details, including:
- Complete invitation ID
- Exact timestamp of invitation creation
- Current status and any status changes
User roles and permissions
InfluxDB Cloud Dedicated uses role-based access control to manage user permissions for the following roles:
Admin
- Full read and write permissions on all cluster resources
- Can create and delete databases, tables, and tokens
- Can send and revoke user invitations
- Can manage all aspects of cluster administration
Member
- Read permission on databases and certain cluster resources
- Can create database tokens for data access
- Cannot delete or create databases
- Cannot manage other users or send invitations
Auditor
- Read-only access to all cluster resources
- Can view databases, tables, and configuration
- Can see user invitations but cannot create or revoke them
- Cannot modify any resources or create tokens
Role assignment
User roles are assigned when sending invitations and cannot currently be changed through the Admin UI. To modify a user’s role, contact InfluxData support.
Limitations
- Historical records: Invitation records remain even after user removal; use the
influxctl users listcommand to confirm current users
For operations not available in the Admin UI, contact InfluxData support for role changes, user removal, or other advanced user management tasks.
Was this page helpful?
Thank you for your feedback!
Support and feedback
Thank you for being part of our community! We welcome and encourage your feedback and bug reports for InfluxDB Cloud Dedicated and this documentation. To find support, use the following resources:
Customers with an annual or support contract can contact InfluxData Support.